
Add custom fields to contacts
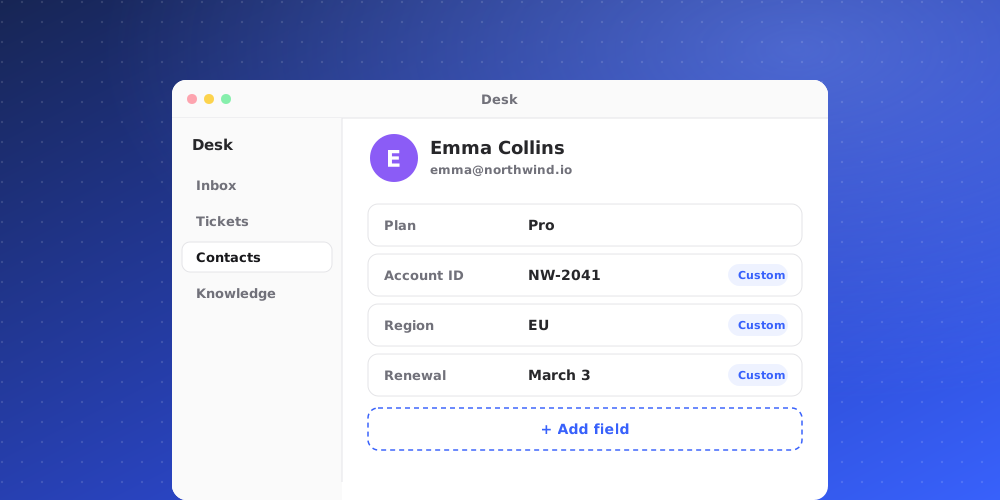
Every contact has a set of built-in fields. If you know more about your contacts than those fields cover, such as an account tier, a plan or a signup date, add your own fields.
See your fields
Open Contacts > All contacts and click Manage Attributes. The Contact fields panel lists:
- Built in fields that every contact has: Email, Name, Phone number, Country, Role, External ID and Source. These are locked.
- Your own fields, below them.
Use Search fields to find a field in a long list.
Add a field
Owners and admins can add fields.
- Click Add field.
- Enter a Name, for example "Account tier". QuantCX shows the key it will be stored as while you type, for example
account_tier. - Optionally add a Description, for example "Which plan they are on".
- Choose a Type: Text, Number, Yes or no or Date.
- Click Add field again to save it.
The type decides how the field is shown. If a sync sends a value in the wrong shape, it is still stored, because one bad cell should not fail an import.
Where custom fields appear
Once you add a field, it becomes:
- A column on the Contacts page. Custom columns are hidden by default; turn them on from Columns.
- A column the CSV import reads. Name the column in your file after the field's name or its key.
- A key the QuantCX API accepts for contacts.
Remove a field
Removing a field takes it off the list, but leaves the values already on your contacts alone. If you add a field back with the same name, those values show again.
Tips
- Use clear, stable names. The key is created from the name, and imports and integrations match on it.
- Prefer Yes or no and Number over free text when the value is a flag or a count.