
Organize articles with categories and ordering
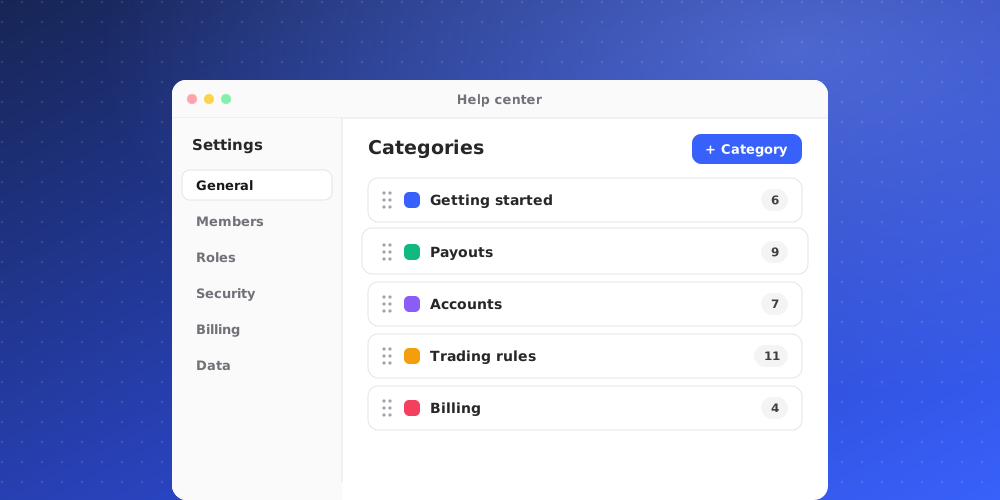
Categories group your articles. Visitors see each category's name and description on the first screen of the widget's Help tab and on your help site, so a clear set of categories makes answers easier to find.
Create a category
- Open Studio > Help Center > Articles.
- Click New category.
- Enter a Name, for example "Payouts & Billing".
- Add a Description that tells visitors what they will find, for example "Payout timing and methods, fees, refunds, and billing questions."
- Click Create category.
If you're starting from scratch, a category like "Getting Started" is a good first one. Every article must belong to a category.
Add articles to a category
Use New article here on a category to start an article that is already filed under it, or choose the Category in the article editor. To move an article to another category, open it, change its Category and save.
Change the order
Categories and articles appear to visitors in the order you set on the Articles tab.
- Drag a category by its handle to move it up or down the list.
- Drag an article by its handle to move it within its category.
- With the keyboard, focus a handle and use the up and down arrow keys.
The new order is saved as soon as you drop. Reordering is not available while a search or status filter is applied, so clear the filter first.
Edit or delete a category
Open a category to change its name or description, then click Save.
Deleting a category also deletes every article in it. The delete button says how many articles go with it, for example Delete with 4 articles, and QuantCX asks you to confirm. The articles disappear from the widget, and this can't be undone. If you want to keep the articles, move them to another category first.
Tips
- Keep categories few and broad. Five to eight is easier to scan than twenty.
- Put the questions people ask most at the top of each category.
- Category names are translated along with your articles if you offer more languages.