
Add Documentation and a Changelog to your Help Center
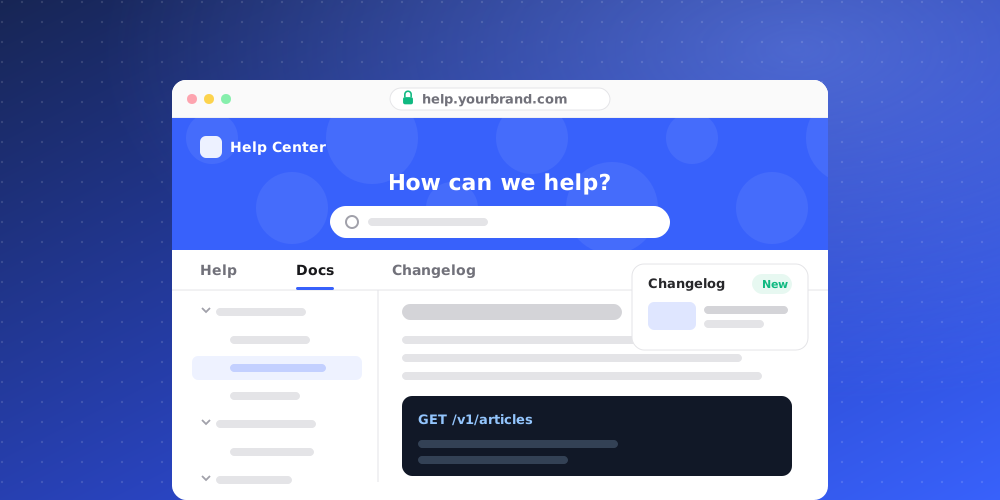
Besides help articles, your help site can have two more sections, shown as tabs across the top of the site: Documentation (pages in an ordered tree, read through rather than searched) and Changelog (dated entries, newest first, with a version and tags). Both are off by default.
Turn the sections on
- Open Studio > Help Center > Navigation.
- Under Sections, switch on Documentation, Changelog or both. Help is always on.
- Save your changes.
Once a section is on, a Docs or Changelog tab appears in the Help Center sidebar in Studio. Turning a section off hides its tab and leaves its content alone, so it comes back as it was.
Both sections need at least one category in your Help Center, because every page and entry is filed under one.
Documentation
Open the Docs tab. Pages appear in the order readers walk through them, with two levels: a page, and the pages under it.
- Click New page.
- Enter a Title and a Summary.
- Under Sits under, choose a parent page, or Nothing, it is a top-level page. Only top-level pages can be parents.
- Click Save page. This creates the page.
- Click Write to write its content in the article editor.
Use the up and down arrows next to a page to change its position among its siblings. Pages that aren't published show a Draft label.
Changelog
Open the Changelog tab and click New entry. Fill in:
- Title, Date and an optional Version.
- Tags, separated by commas, for example "Added, Fixed".
- Short summary, shown while the entry is collapsed.
- Full content, shown when readers expand the entry.
- An optional Thumbnail: a 16:9 JPG, PNG or WebP up to 1 MB.
Tick Visible on the help center to show the entry publicly, then click Save entry. Hidden entries show a Hidden label.
Announce an entry
Saving never sends anything. Under When this is announced, choose what an announcement should do:
- Email verified contacts
- Post to client Slack channels
Each option shows how many people or channels it would reach. When the entry is visible and at least one option is ticked, an Announce button appears on it. QuantCX asks you to confirm with Send it and shows exactly who it reaches. An entry can be announced only once, and there is no unsend. Announced entries show Announced with the date.